
Lessons 4 & 5 - Embouchure & C on the Reed
In this lesson, we learn how to form the perfect oboe embouchure. Watch the video and then check out the blog post written by Nuria Cabezas over at https://musicbayside.com/ to see detailed pictures from a true professional oboist!
Hi everyone! Welcome one more day to the MusicBayside Oboe Blog. I’m Nuria Cabezas and today I’ve prepared a post in which you can learn how to form the embouchure for playing the oboe! What it is, what it is for, its technique and study,
as well as graphic examples.
What is the embouchure and what is it for?
We can define the embouchure as the position adopted by the lips and the muscles
of the mouth to hold the reed. A correct embouchure will allow the air coming from our lungs get into the instrument through the vibration of the double reed.
We could say that the embouchure is the link between us and the instrument.
Oboe Embouchure – Exercises, technique and graphic examples
Excerpt from Music Bayside:
Technique and steps for doing a proper embouchure
The biggest difficulty we face when studying the embouchure is to understand the abstract concepts with which it is usually explained. To understand the process in detail we will see the steps to follow during the study and some graphic examples.
Now we are going to see how to form the embouchure following 4 steps:
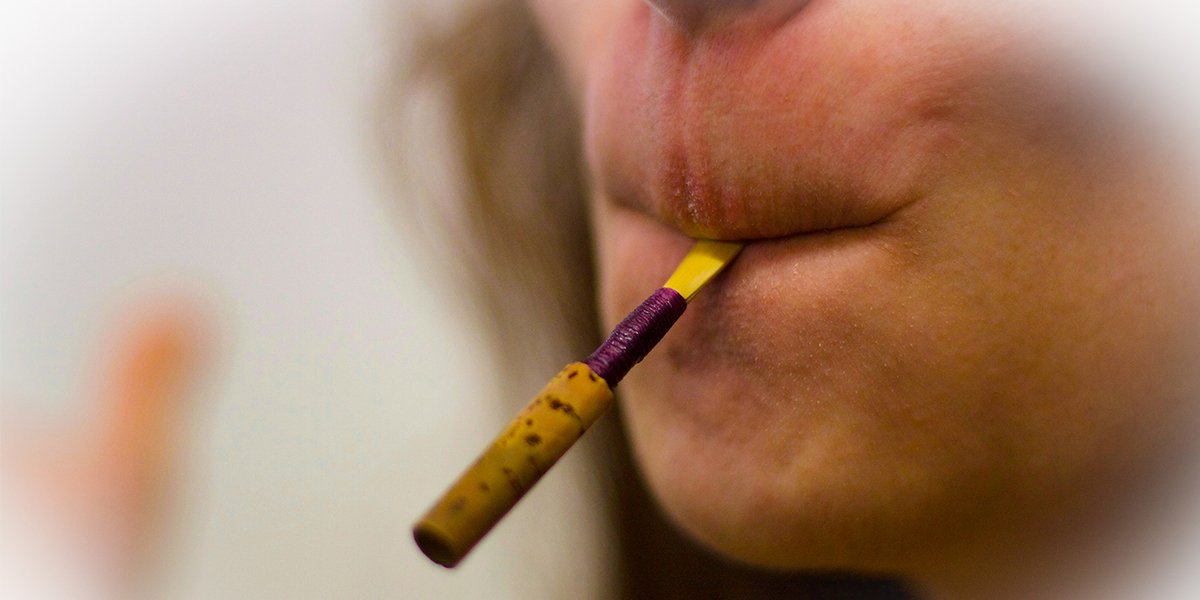
Step 1 – We place the reed, resting it on the lower lip.
Step 2 – The corners of the lips move towards the center, rounding the embouchure. It can help us to think that we pronounce the letter “U” in this second step.

Step 3 – Relax the lower jaw as when pronouncing the letter “O”. This allows the space within the oral cavity to expand and the teeth to be separated.
We will take air in this step, always by the mouth when performing these exercises.


Step 4 – We cover the teeth with our lips, above and below the reed, leaving only the tip of the reed inside the mouth, around 2 mm.

Graphic examples
Next we will see some daily examples that help us to understand the process better.
Example 1 – It will help us to think about the feeling we have when we have eaten something that burns us a lot but that we can not get out of our mouths. What we do unconsciously is to enlarge the oral cavity by raising the palate and lowering the tongue. That position of the mouth inside is what we need in order to play.
Example 2 – Another example could be when we yawn trying to keep our mouth closed. When it happens to you, notice what happens inside your mouth!
Example 3 – As last graphic example we will see the position of the mouth when we whistle. The jaw drops and the lips are rounded, bringing the ends to the center. It is basically the same position.